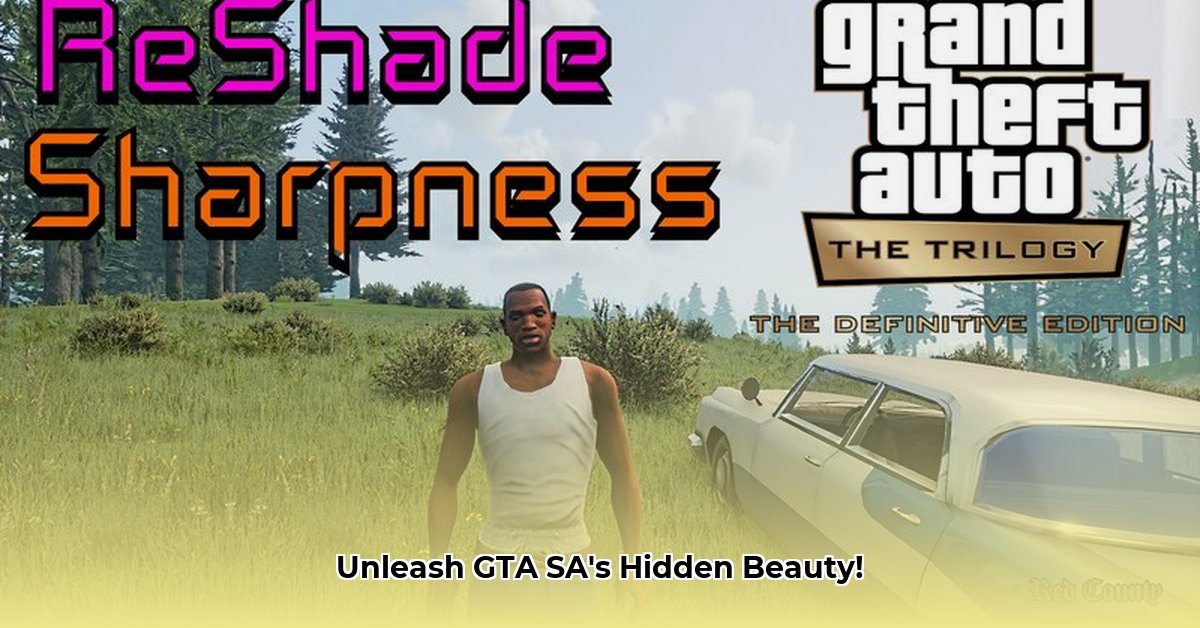
Want to breathe new life into your Grand Theft Auto: San Andreas experience? ReShade, a free tool, can dramatically enhance your game's visuals. This guide provides a step-by-step walkthrough for downloading and using ReShade with GTA SA, even if you're a complete beginner. Get ready to rediscover the classic San Andreas with stunning, modernized graphics!
Downloading and Installing ReShade: A Step-by-Step Guide
This section details the process of downloading and installing ReShade for GTA San Andreas. Following these steps will help you improve the visual appeal of the game.
Step 1: Download the ReShade Installer
First, navigate to the official ReShade website (https://reshade.me/). Download the installer – it's a small file.
Step 2: Locate Your GTA SA Executable
Find your GTA San Andreas executable file (gta_sa.exe). This is usually located in your game's installation directory. If you're unsure, search your computer for "gta_sa.exe".
Step 3: Run the ReShade Installer
Run the downloaded ReShade installer. It will prompt you to select a game. Choose the gta_sa.exe file you just located. The installer will automatically detect the DirectX version; ensure this is correct. Incorrect selection may cause issues.
Step 4: Select Your Shaders
ReShade offers many "shaders" (visual effects). For beginners, choose a few pre-made presets. Explore more complex options later.
Step 5: Complete the ReShade Installation
After selecting your presets, click "Install." ReShade will integrate into your game. This process is usually quick and straightforward.
Configuring and Customizing ReShade
After installation, you'll notice a new in-game menu or overlay. This allows you to control ReShade effects. Experiment with different settings to find the ideal visual style for your preferences.
SweetFX: Provides a wide range of adjustments, including sharpening and color grading, enabling fine-tuned visual enhancements.
Depth of Field: Adds a cinematic blur, creating a more professional and artistic visual effect.
Ambient Occlusion: Creates more realistic shadows and depth, subtly enhancing the game's realism.
Remember: experimentation is key! Different combinations will produce unique results. Can you create a visually striking look that enhances the game's atmosphere?
Troubleshooting Common Issues
Occasionally, problems may arise. Here are solutions to common issues:
Game Crashes: If your game crashes, reduce the number of active shaders or lower their resolution. Too many effects can overload your system.
Poor Performance: Reduce effect quality or intensity, or disable some entirely, if performance suffers. Lowering the resolution might also help.
No Effects: Verify ReShade installed correctly and that you've selected the correct DirectX version. Restart the game after installation.
Weighing the Pros and Cons of Using ReShade
ReShade offers significant benefits but also has potential drawbacks:
| Feature | Pros | Cons |
|---|---|---|
| Visual Improvements | Significantly enhances visuals, providing a modern look. | Might impact performance, especially on older computers. |
| Ease of Use | Relatively easy to install and adjust basic settings. | Advanced customization requires technical understanding. |
| Customization | Vast range of effects and presets to experiment with. | A learning curve for custom shader creation. |
| Community Support | Large and active community for support and resources. | Quality of community-created shaders varies. |
Important: Always Back Up Your Game Files
Always back up your GTA San Andreas files before installing mods or altering game files, including before installing ReShade. This ensures that you can restore the game to its original state if issues arise. Is this a crucial step you should always remember to take?
This guide provides a foundation for using ReShade with GTA San Andreas. Experiment with different settings and shaders to discover your perfect visual style. The vibrant ReShade community is a fantastic resource for additional tips, tricks, and pre-made shaders!
⭐⭐⭐⭐☆ (4.8)
Download via Link 1
Download via Link 2
Last updated: Tuesday, April 29, 2025